


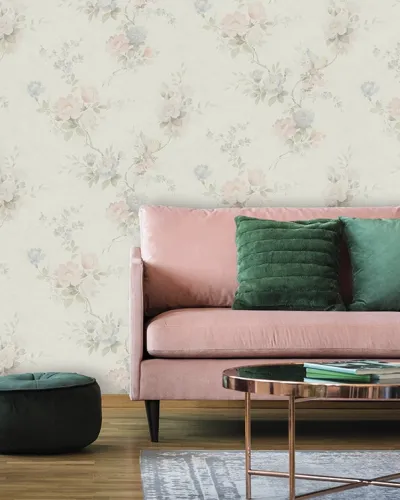

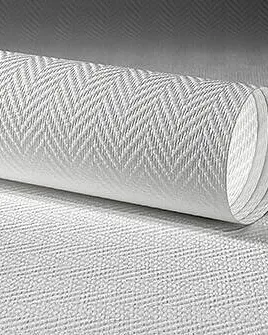


Non-woven wallpaper has made wallpapering much easier. Unlike paper wallpaper it does not have to be pasted and soaked: the paste goes straight onto the wall and the dry strip is hung. This saves time, and the strips keep their size. This guide takes you from the wall surface to the last strip.
Important first: the information on your wallpaper label always takes priority. It shows the recommended paste, the hanging method (the "paste the wall" symbol), the pattern repeat and the batch number.
Tools and materials
- Paste for non-woven wallpaper (type as stated on the label)
- Paint roller or brush for pasting the wall
- Smoothing brush or plastic/rubber seam roller
- Utility knife with fresh blades and a wide spatula as a cutting edge
- Spirit level or plumb line, pencil, folding rule
- Clean, slightly damp sponges and clear water
- Deep primer if the surface is very absorbent
Step 1: Check and prepare the wall
Even the best wallpaper only holds on a good surface. The wall must be sound, dry, clean and even. Three quick tests:
- Load-bearing: press a strip of adhesive tape firmly on and pull it off sharply. If paint or plaster sticks to it, the loose layer must be removed.
- Absorbency: splash a little water on the wall. If it soaks in immediately, the surface is very absorbent – prime it first, otherwise the wall draws the water out of the paste too quickly.
- Evenness: shine a lamp across the wall at a low angle. Fill holes and cracks now and sand them smooth once dry.
Old wallpaper should always be removed. How best to do this depending on the type of wallpaper is explained in our article Removing old wallpaper and preparing the wall.
Step 2: Check the rolls and plan the strips
Before the first cut, check that all rolls carry the same batch number. Rolls from different batches can differ very slightly in shade. Also unroll a piece and check colour and print in daylight – strips that have already been hung are usually excluded from complaints.
Plan where to start. It is usual to start at a window or in a corner and work away from the light. That way any visible seams do not cast a shadow.
Step 3: Align the first strip with a plumb line
The first strip determines all the others. Use a spirit level or plumb line to draw a vertical line a little less than one roll width from the corner. Walls and corners are almost never exactly vertical – if you align to the corner, the wallpaper will run crooked.
Step 4: Cut the strips
Cut the strips to room height plus about 10 cm. With patterned wallpaper, watch the pattern repeat: the next strip must be cut so that the pattern continues at the seam. Number the strips at the top on the back so that the order and direction are correct.
Step 5: Paste on the wall – not on the wallpaper
Apply the paste evenly to the wall with a roller or brush, slightly wider than one strip. Only paste as much area as you will paper straight away – the paste must not dry before the strip is in place.
Step 6: Hang and press the strip
Place the dry strip at the ceiling with a little overlap and align it with the plumb line. Then smooth it from the centre outwards with a brush or roller so that no air bubbles are trapped. Non-woven wallpaper can still be moved easily for the first few minutes – use this to align it.
Hang each further strip butt-jointed, i.e. edge to edge without overlap. Press the seam lightly with a seam roller, but not so hard that paste is squeezed out.
Step 7: Trim the excess
Press the spatula into the angle at the ceiling and skirting board and cut off the excess along it with the knife. Change the blade often: a blunt blade tears damp wallpaper instead of cutting it.
Step 8: Remove paste residue immediately
Dab paste off the surface of the wallpaper immediately with a clean, damp sponge. Do not rub – this can leave shiny spots, especially on matt, embossed or textile surfaces. Dried paste on the visible side can hardly be removed.
Corners, windows and sockets
- Inside corners: take the strip a few centimetres round the corner, cut it there and hang the next strip afresh on the plumb line. This keeps the next wall vertical even if the corner is out of true.
- Outside corners: wrap the strip round the corner and press it firmly; seams directly on an outside edge come loose easily.
- Sockets and switches: first switch off the fuse and unscrew the covers. Paper over them, cut the opening diagonally, trim flush and refit the cover.
- Windows: hang the strip over the window opening, press the contour in with the spatula and cut off the excess.
How long does the wallpaper need to dry?
Keep the room at an even temperature while it dries and avoid draughts and direct heat from radiators. Drying too quickly can open the seams. The exact drying time depends on the paste, the wall and the room air – the paste manufacturer's information is decisive.
Prefer to have it done?
Large-scale patterns, textile surfaces and luxury wallpapers leave little room for error. In the Stuttgart area and its immediate surroundings – for example Böblingen and Ludwigsburg – we hang the wallpaper for you. Prices per roll can be found on the page wallpapering costs. Calculate how many rolls you need in advance with our wallpaper calculator or in the article How many rolls of wallpaper do you need?.
Frequently asked questions
Can I hang non-woven wallpaper over old wallpaper?
We advise against it. The moisture in the paste can loosen the old wallpaper, and unevenness will show through. Remove old wallpaper completely first.
Why paste the wall and not the wallpaper?
Non-woven wallpaper hardly expands when wet. The strip therefore does not need to soak, and the paste-the-wall method is faster and cleaner. Still, check the symbol on the label: some special wallpapers require a different method.
Can non-woven wallpaper be removed later?
Most non-woven wallpapers can be peeled off dry in whole strips. Whether your wallpaper is "strippable dry" is shown by the corresponding symbol on the label.
Leave a Comment